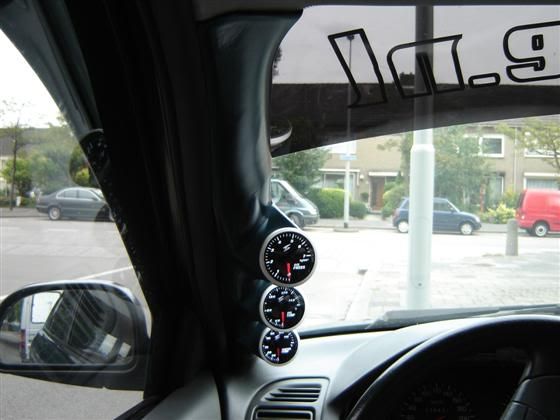
Just about to start a wee project.![]()
SUPPORT CLUBVR-4 TODAY!
Please do not PM Moderators and Committee Directly, for quicker response times please follow this guide
HOW TO: Contact Committee or Moderators
My Articles: Fog Light in Rear Cluster - Changing AYC Switch - Changing Drive Shaft - Changing Front suspension
My Projects: Installing Uprated Clutch - making Gauge Pods (Tri-pod)
Club Related: HOW TO Guides - HOW TO: Contact Committee or Moderators
RIP: Type-S - 1998 R - Trigger Mauve - Mauve History | First VR4 - Second VR4 - Third VR4
![]()
Get your own fuel sig in the Garage (Members Only) - Visit my Garage ........What Is Geocaching?
ooh, you're going to make yourself some pods for your gauges!!
2014 Skoda Octavia 2.0 petrol Vrs estate
2015 Volkswagen Golf 1.6 Tdi Bluemotion
1971 BRG MGB Roadster
1970 VW T2 Baywindow camper
Originally Posted by colVR4
![]()
Just come back in from checking it in the car, just to make sure its not resting on dash, or against window, allowing enough room for the fibreglass coating.![]()
Its quite hard to see on the photo(to many mad colours
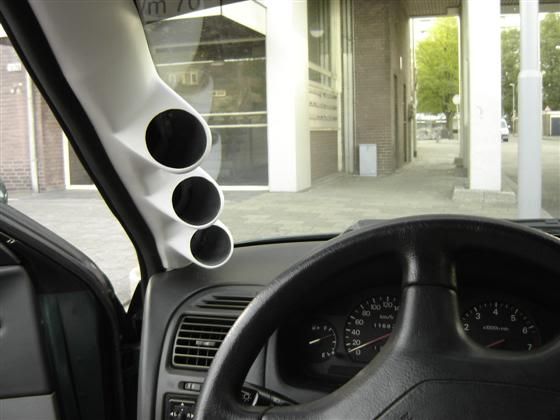
), but im currently smoothing it out ready for its coating.
smoothing has been completed..
time to start with the fibreglass![]()
Genius! Let us know how it works out Barry.![]()
Wow, Fay is really coming along well, look at her abilities![]()
Yep, as above....Fay's doing brilliantly well for a toddler!
Be careful them gauges don't get in the way of your vision Barry, especially at them roundabouts/intersections!![]()
Looking forward to seeing the results Barry
WTG mate
How much was the pasticine?
Used to love that stuff![]()
5 quid a tubOriginally Posted by Axeboy
from "The Works" its 8 quid at Toys are us
![]()
Anyways,
Version 1 has been scrapped... it turned out a bit naff, and i used the wrong glass fibre i recon...
so.. onto version 2...
Got some fibreglass paste, and some filler as a second layer (easier for sanding)
Firstly a pic of the binned verson 1, followed by pics of version 2.
The second pic is from my eyeline showing how much of my view is obscured.
looking good barry
omg, fibre paste is SO the way forwards... wish i seen that first time around..
atleast second time around ive learnt from mistakes, and can improve on it...
ok, its setting.. then sanding, sanding sanding.. some more sanding...![]()
Sanding, filing, sanding filing boooooring
getting there though... still needs a second coat![]()
looks like caves but i think it is going to look good
after you have finished make a mold and make some more to sell
8 Hours later...- the fibre paste has been filed and sanded down...
second coat of filler has been applied, and for the most part is ready to roll. im getting a Dremel of a mate tommorrow so that i can finish off the front, hence the roughness atm. I realised i put to much paste on the inside of the furthest right pod hole, and because its in an akward place i cant really get at it with a file or sand paper.
So tomorrow i should have the front completed, then remove the plactecine and ensure the holes are big enough, at right angle for the gauges (theres quite a bit of filler on the front to allow me to file of more to sort out the angles.) then off to b&Q to match up the paint of the pillars, and im done, i hope.
Originally Posted by BraindG
Sweeeet
Happy days...
Is it edible?
wtf
that's nice work.
i made also some for the a-pilaar.
not painted yet.
![]()
www.galantfans.nl
2000 saloon GDI converted to V6 with vr4 inlet
1999 estate V6 running wild.
building a new vr4 engine.