


Oh, of course.Originally Posted by scott.mohekey

Maybe not this Christmas, however!!
- REGISTER
- LOG IN
- Forum
- Club VR-4 Links
CLUB VR-4 LINKS
Join Club VR-4
CVR4 Garage
Club VR-4
Become A Club VR-4 Member
Help Support Club VR-4 and become a member! - You will receive access to the members only area, including resource library and article Library - For more info please see here
- SPONSORS
- SHOP
- FORUM
- HOME
|
|
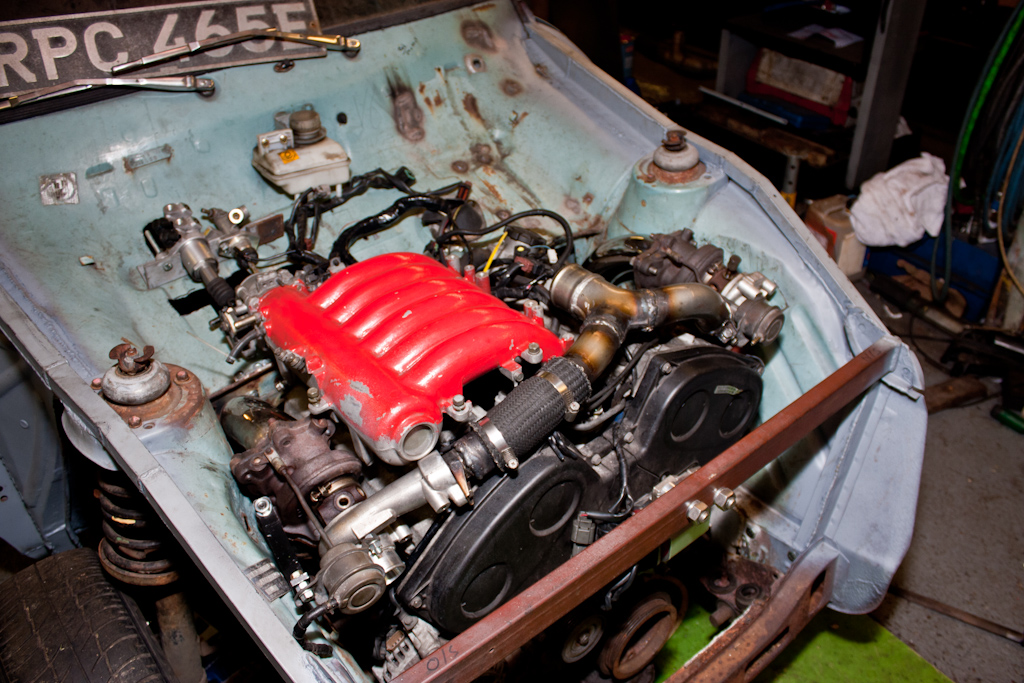
 Legnum VR-4 Type S Project

 Reply With Quote
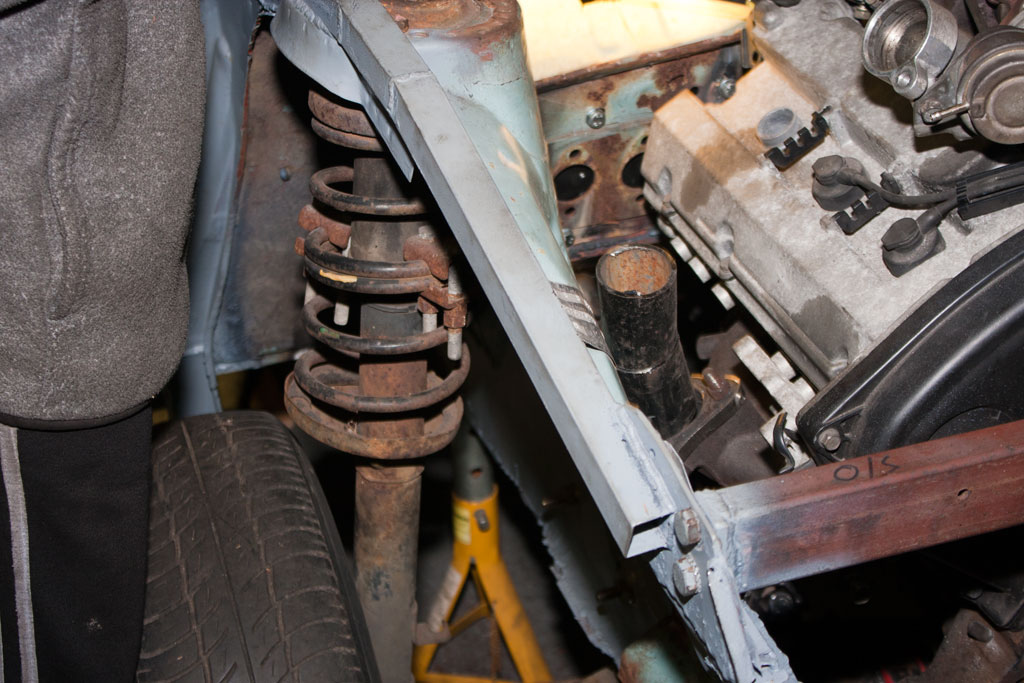


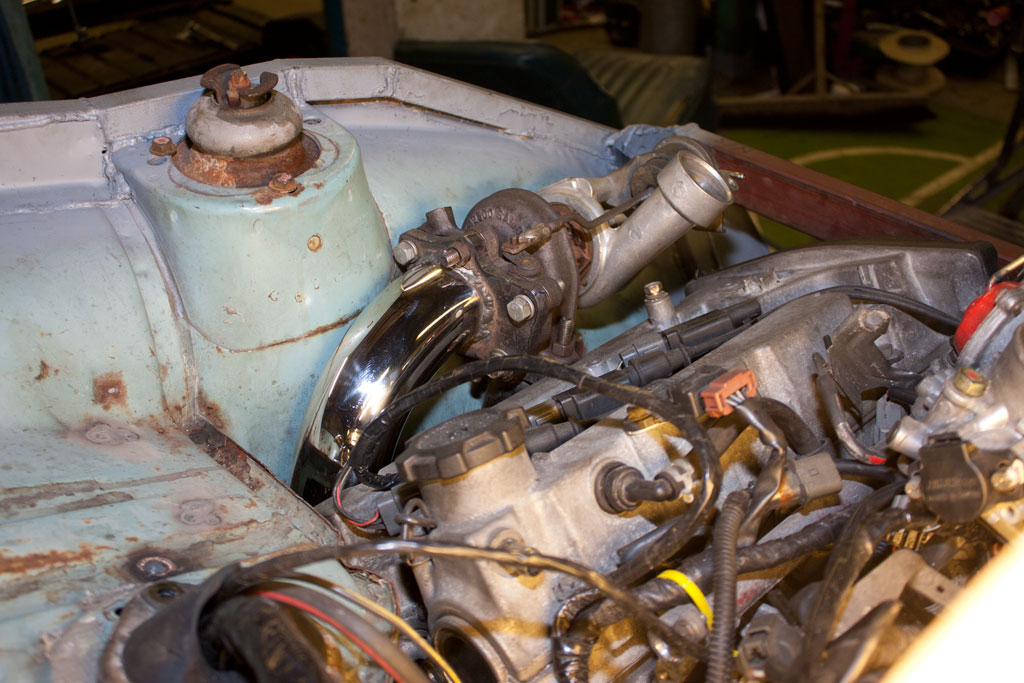
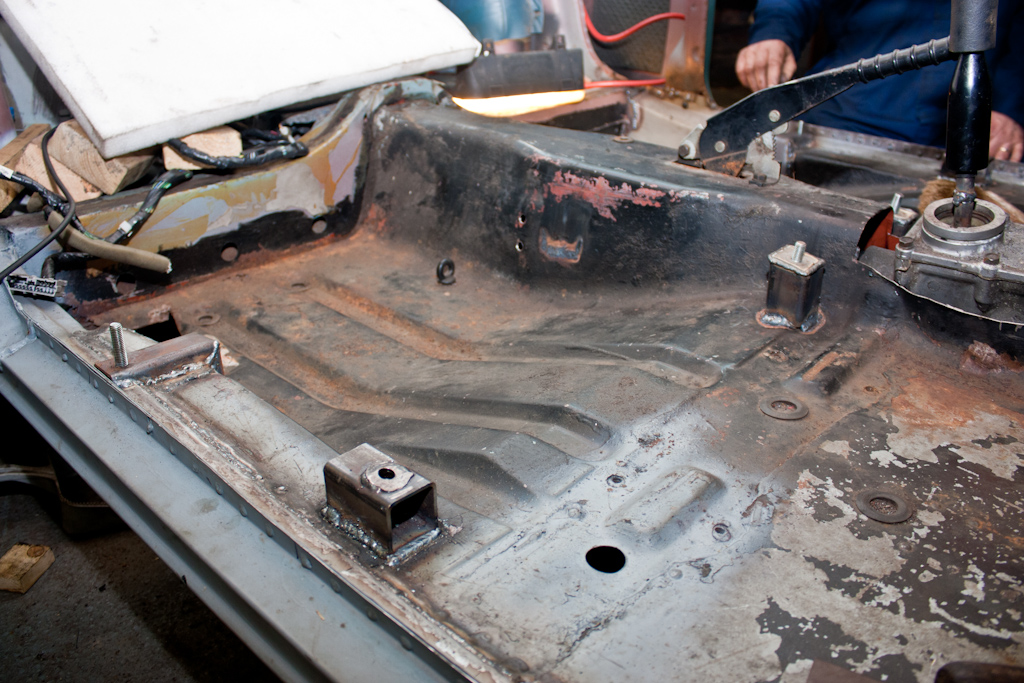
 Well, let me rephrase that... they won't. There's enough space under there for everything


 UK Chat
