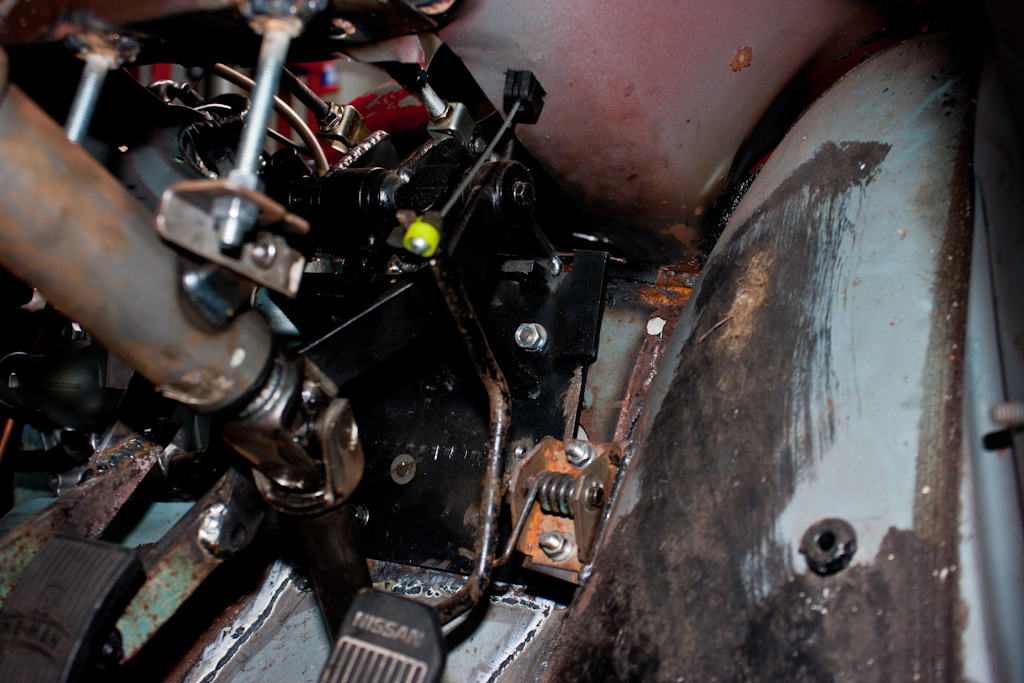
Wow this project is awesomely amazing, looks great
A bit more exhaustive work for this update. The next thing on the list was to continue with the exhaust. After getting down to the underneath of the car last time, we chopped off the excess, and welded on some flanges, and added a flexi section to allow engine movement, one with the mounting for an oxygen sensor, and a pair of nice straight bits of stainless pipe (Isuzu Trooper side step bars).
Also, whilst we were underneath the car, we've run two brake pipes from the master cylinder to the boot, where the brakes will be assisted by a pair of 1.9:1 remote brake servos. We also ran the fuel feed and return pipes from the engine bay to the boot, where we will put a petrol tank.
To finish off, another braided hose from Hosequip for the clutch, a couple of inches longer than the standard 200SX hose, and we were able to test out the clutch for the first time.
Unfortunately, a little hitch - the clutch is VERY heavy to use. However, whilst wandering around the Bromley Pageant of Motoring yesterday (where we went with my dad's 4 wheel drive Anglia) we found a 3:1 ratio remote brake servo, which should reduce the effort required to operate the clutch.
So, looks like it'll need yet another pipe running to the boot and back down the length of the car!
You do realise you are a hooligan?!
Is it not possible to change the clutch master cylinder and or slave cylinder to get the same effect?
I think it's mainly due to the length of the arm on the pedals, it's not much shorter than the pedal end! So not much multiplication there, with a 3x multiplication on the servo will help massively
is it done yet?
yeah, were are our updates? haha
^ Agreed
Last month we spent a little time doing some running repairs to the garage itself, as the roof was becoming less roof like and more open window like! Hopefully this weekend when I'm back there he won't want to do building work and we can concentrate on the car again!
So, hopefully some more updates this weekend!
awesome, cant wait for updates on this awesome project
Good. It is a great project.
After a small break to do some running repairs to the garage building, I'm back with another update.
The first job was to unbox and mount the servos that were purchased last time - the only place for them is in the boot. Some minor modifications to the supplied mounting brackets, and they're all lined up at the front of the boot.
With 3 servos so far from the engine, and needing to be operated by vacuum, the usual route of providing vacuum from the inlet manifold on the engine would not have been ideal - especially with a turbo engine and requiring a servo for the clutch, enough vacuum can not be guaranteed. Therefore, we have decided to make use of an old CO2 welding bottle as a vacuum chamber to provide a large amount of vacuum to the 3 servos.
The bottle was fitted with some barbs to fit pipework to, and fitted into the boot of the car, and a mounting bracket was fabricated to support the end of the bottle where it tapers.
As I mentioned earlier, the vaccum will not be provided by the engine, so instead outside assistance is required to provide a vacuum. There are many vacuum pumps available, but most of these are driven directly from the engine, and the majority of these also require an oil supply - something that's not going to be easy. Therefore, we found an electric vaccum pump, usually fitted to various VAG cars (this one listed as being for an Audi TT), which requires purely a 12v electrical connection. A vibration-reducing mount was made using an old cotton-reel style rubber mount, and it was plumbed up to the vacuum chamber.
Applying 12v power to the vacuum pump until the chamber was "full" (or should that be empty?) of vacuum - it was time to test the clutch out. As predicted, this greatly reduced the effort required to operate the clutch, but it still it was not enough to make it comfortable to use - I want this to be a car that's not a chore to drive, and to have a modern feel to it. Therefore, to aid the servo assistance, we also adjusted the pedals slightly to further improve the levering force available from the pedal to reduce effort. The arms that operate the master cylinders was shortened, and the operating arms inside were lengthened slightly.
The combination of adjustments to the pedals, and the servos, has made the clutch operation now akin to a modern car - and I currently also only have a standard FTO clutch cover fitted - which may need to be uprated to one with higher clamping force to cope with putting down the 50% extra power over and above what a standard FTO clutch is designed for - this will add more resistance to the clutch system - and the assistance of the servo is definitely still required.
Now that the clutch and brake pedals were sorted, why not finish off the trio, with a new throttle cable hooked up, and a custom bracket made to attach it to the inlet manifold at the required angle to match with the adjusted throttle body location.
Fabulous!
I wonder how many people will see that 'bottle' and assume it's NOS!
October 2023 fleet status: 100% operational
| Legnum VR-4S | Fiat Panda 100HP !! | a blue one! | Avensis T-180 | VR-4 parts van! |
Why not become a full member of CVR4 and enjoy the additional benefits membership brings?! Information here.
What a piece of engineering! Great work, I love it!
so much work looks fantastic. just one question are you keeping the apperence a wreck on purpose as i would have thought that before you started fitting all the componets you would have put a bit of paint on the undreside and engine bay
"Finishing second means you are the first person to lose"................ (Gilles Villeneuve)
With all the fabrication work being done, it's pointless spending any time/money on prettying it up now, as it's unknown which bits will be kept as is! And, we've designed it all to be easily stripped down - it'll take about an hour to remove the engine and gearbox It'll be driven for a little while after it's "done" to see whether any more tweaking needs doing, before it's stripped back down to a bare shell to go for final paint and tarting up
Fantastic work. A lot of what you are doing has gone over my head, but I can still appreciate a good build project! Great stuff Garry!
1997 Mitsubishi RVR HSGR : 2.0 4G63T, 4 seats and the seating position from a truck
2009 Ford Mondeo : 2.2TDCi, 4 wheels, some plastics, some metal and some seats
Former owner of The Mongrel (RIP 2011) and The Rednum (RIP 2014)
Oh yeah, keeping it looking like a grotty old car certainly adds to the fun factor when surprising a few people
Any more up to date pics yet Garry?
Free bump.
Give it a couple of weeks